


E-Commerce Made Easy: How to Set Up an Online Store with TechMock

The e-commerce industry is booming, and there’s never been a better time to start your online store. Whether you’re selling handmade crafts, digital products, or retail goods, a professional and user-friendly website is key to your success. But building an online store doesn’t have to be complicated or expensive. With TechMock, you can create a stunning e-commerce website in just a few simple steps—no coding or design skills are required.
In this guide, we’ll walk you through the process of setting up an online store with TechMock, from choosing the perfect template to launching your site. Let’s get started!
Why Choose TechMock for Your E-Commerce Website?
Before we dive into the steps, let’s talk about why TechMock is the ideal choice for your online store:
-
One-Off Template Purchases: No recurring fees—just a single payment for a template you own forever.
-
User-Friendly Interface: Adding and editing content is as easy as posting on social media, thanks to TechFlow Editing.
-
Built-In SEO Tools: Optimize your store for search engines and attract more customers.
-
Mobile-Friendly Designs: Every template is optimized for all devices, ensuring a seamless shopping experience.
Step 1: Choose the Perfect E-Commerce Template
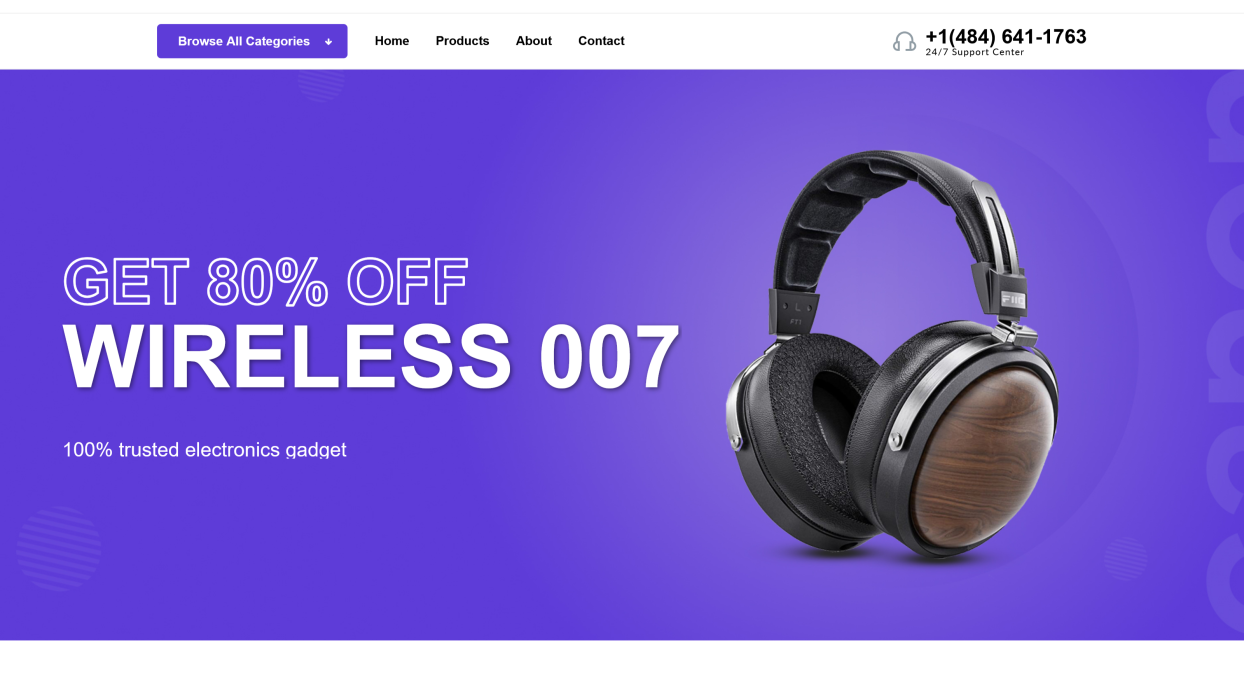
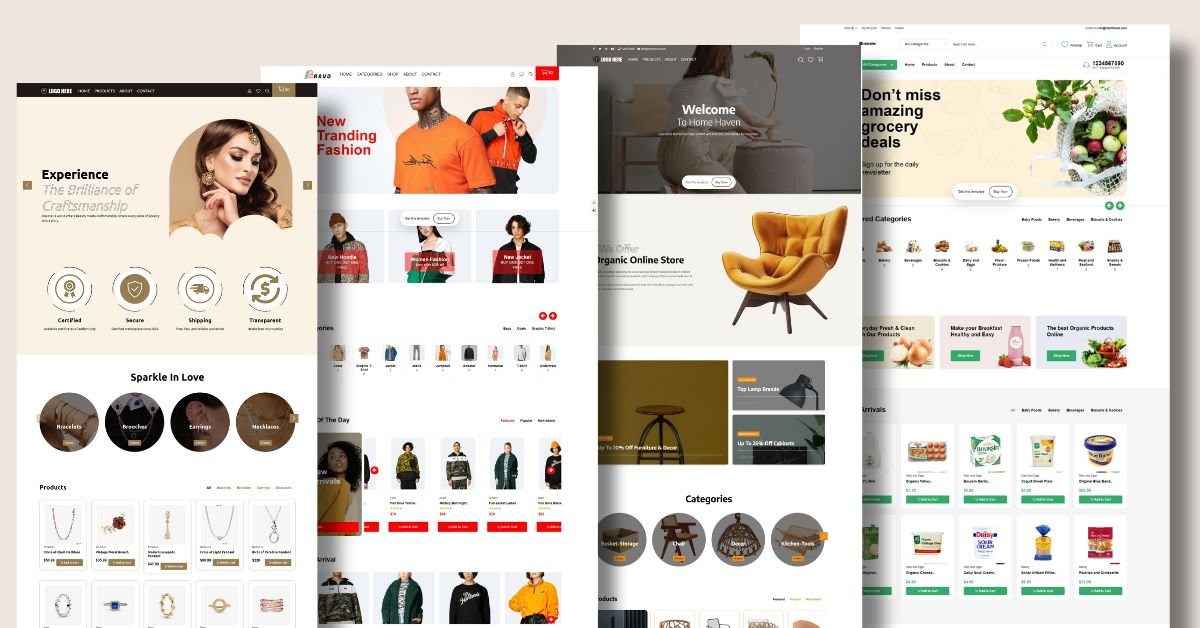
The first step to building your online store is selecting a template that aligns with your brand and products. TechMock offers a variety of e-commerce templates designed for different industries, from fashion to electronics.
Pro Tip: Use the preview feature to see how the template looks before clicking the “Buy Now” button. This ensures you’re choosing the perfect design for your needs.
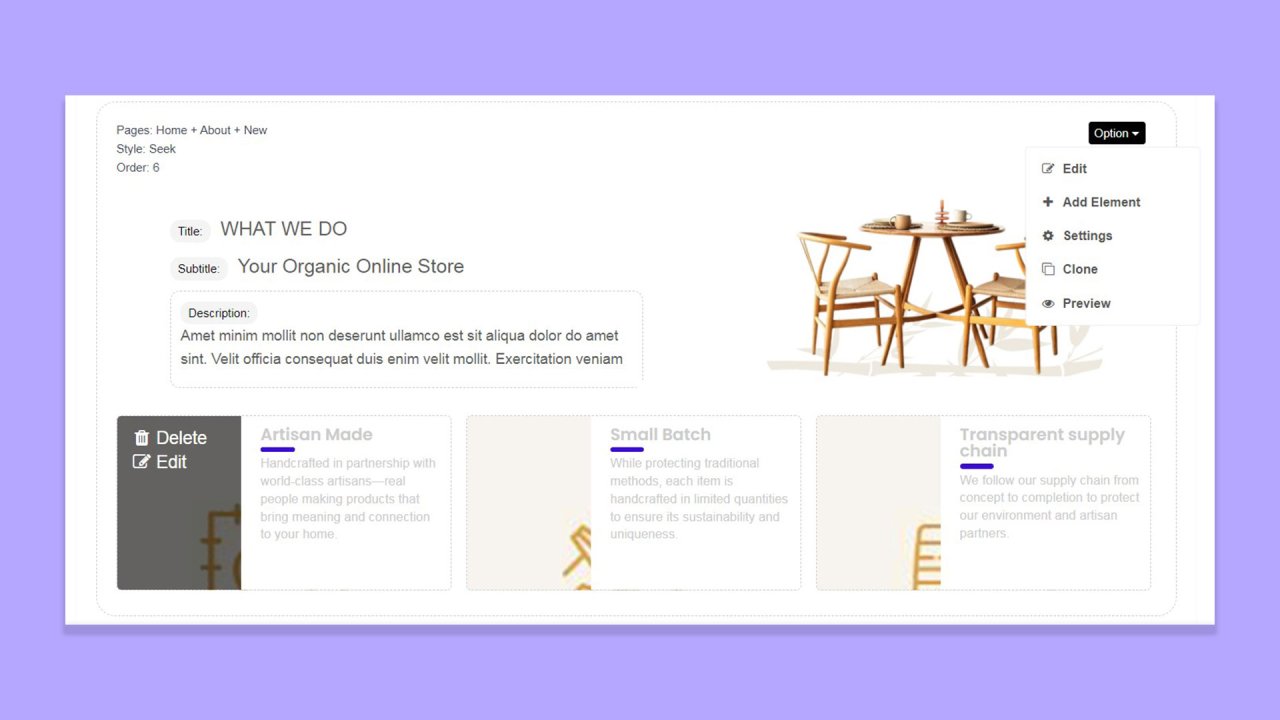
Step 2: Customize Your Store with TechFlow Editing
Once you’ve chosen a template, it’s time to make it your own. TechMock’s TechFlow Editing allows you to:
-
Add your logo and brand colors.
-
Upload high-quality product images directly from your device.
-
Rearrange sections to highlight your best-selling products or promotions.
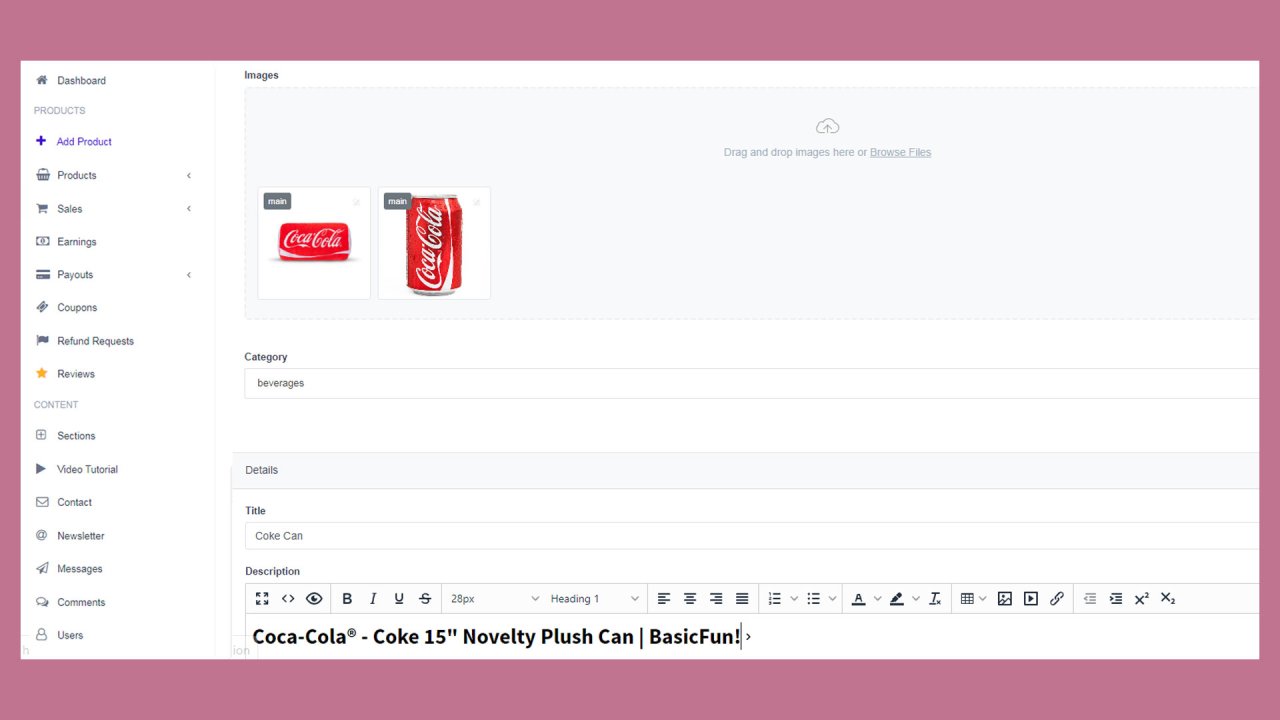
Step 3: Add Your Products and Categories
With your design in place, it’s time to add your products. TechMock’s editor makes it easy to:
-
Create product listings with titles, descriptions, prices, and images.
-
Organize products into categories for easy navigation.
-
Set up inventory tracking and stock levels (if applicable).
Pro Tip: Use built-in tools to resize and optimize product images directly within the editor, ensuring your store looks professional without the need for external software.
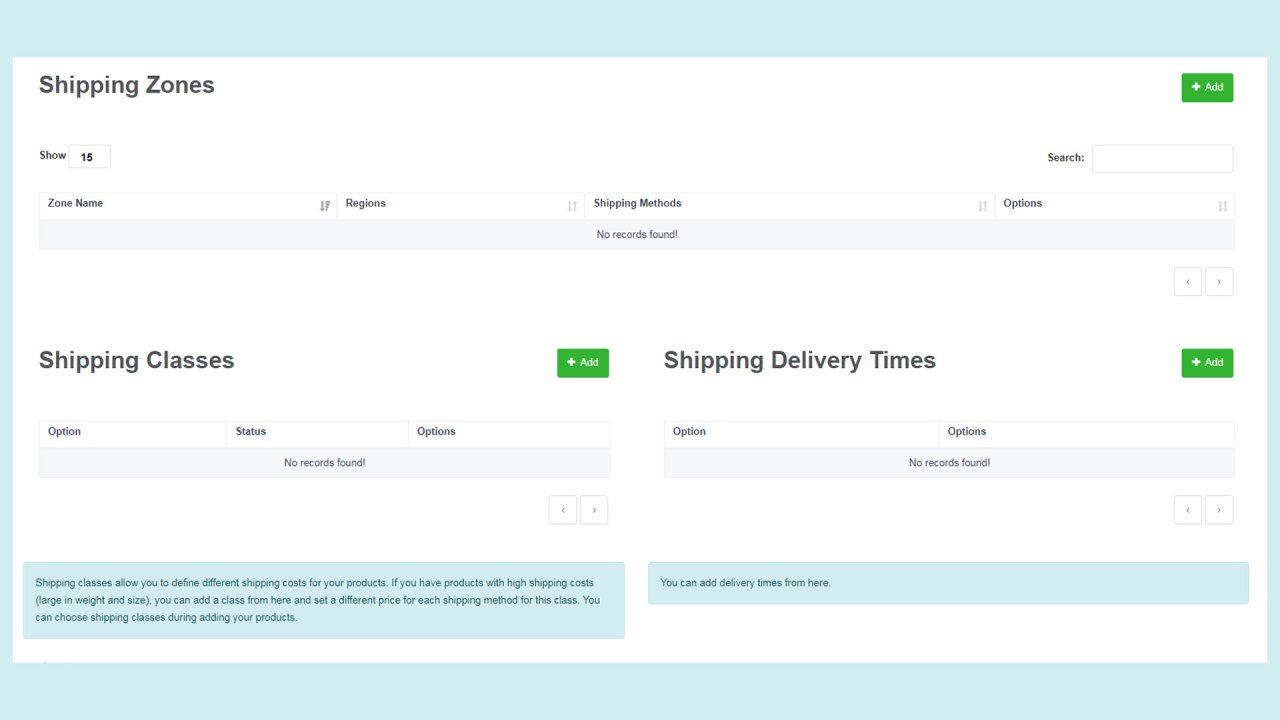
Step 4: Set Up Payment and Shipping Options
A seamless checkout process is crucial for converting visitors into customers. With TechMock, you can:
-
Integrate popular payment gateways like PayPal, Stripe, or credit card processing.
-
Set up shipping options, including free shipping, flat rates, or real-time carrier calculations.
-
Add tax settings based on your location.
Step 5: Optimize Your Store for SEO
TechMock’s built-in SEO tools make it easy to optimize your online store for search engines. Here’s how:
-
Add meta titles and descriptions for each product and category page.
-
Use relevant keywords in your product descriptions and blog posts.
-
Optimize image alt text and file names.
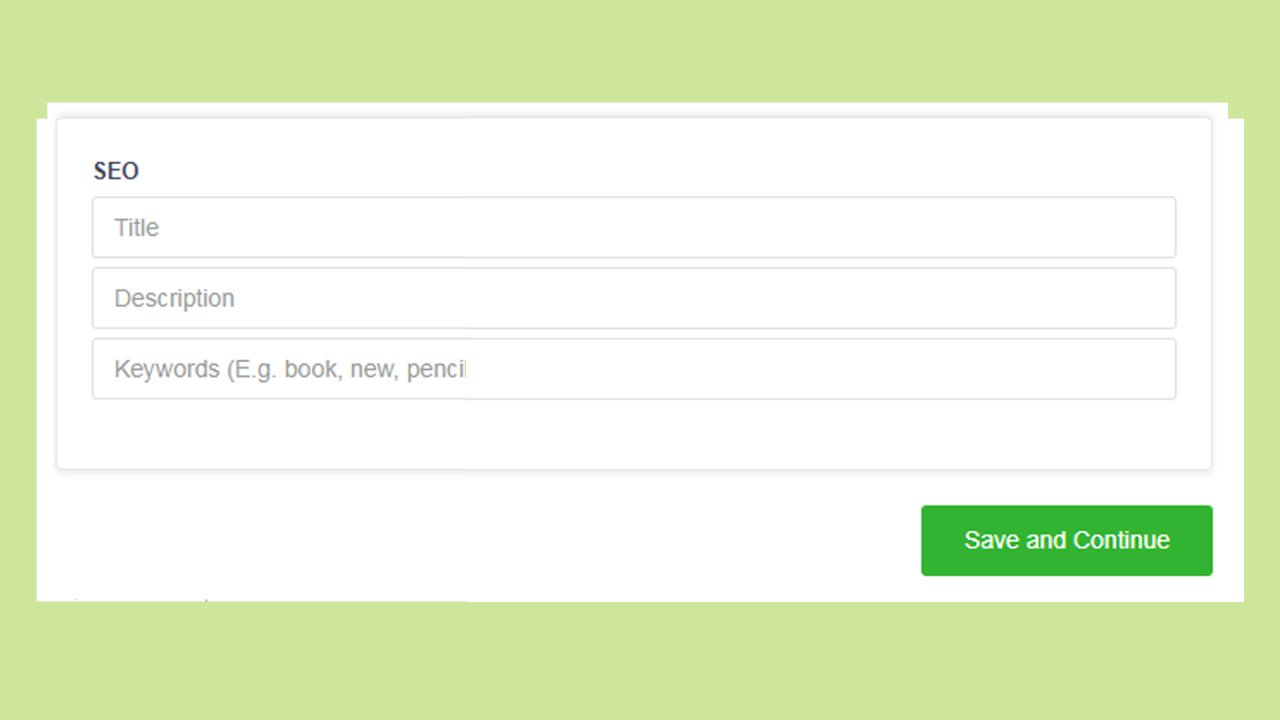
Step 6: Preview and Launch Your Store
Before going live, preview your store to ensure everything looks perfect on both desktop and mobile. Once you’re satisfied, hit the publish button—your online store is now live!

Conclusion
Building an online store doesn’t have to be complicated or time-consuming. With TechMock, you can create a stunning, functional e-commerce website in just a few simple steps. Whether you’re a beginner or a seasoned entrepreneur, TechMock’s intuitive tools and templates make it easy to bring your vision to life.
Ready to get started? Explore TechMock’s e-commerce templates today and launch your online store with confidence!